How to Email a Screen Print
Often when I’m working with clients that are having difficulties with Outlook functionality or getting an error message that needs to be diagnosed, it is helpful if I can see what they are seeing. The easiest way to resolve this situation is for a client to send me a screen print of a particular error message, view or item that is showing unexpected data.
Use the following instructions to email a screen print:
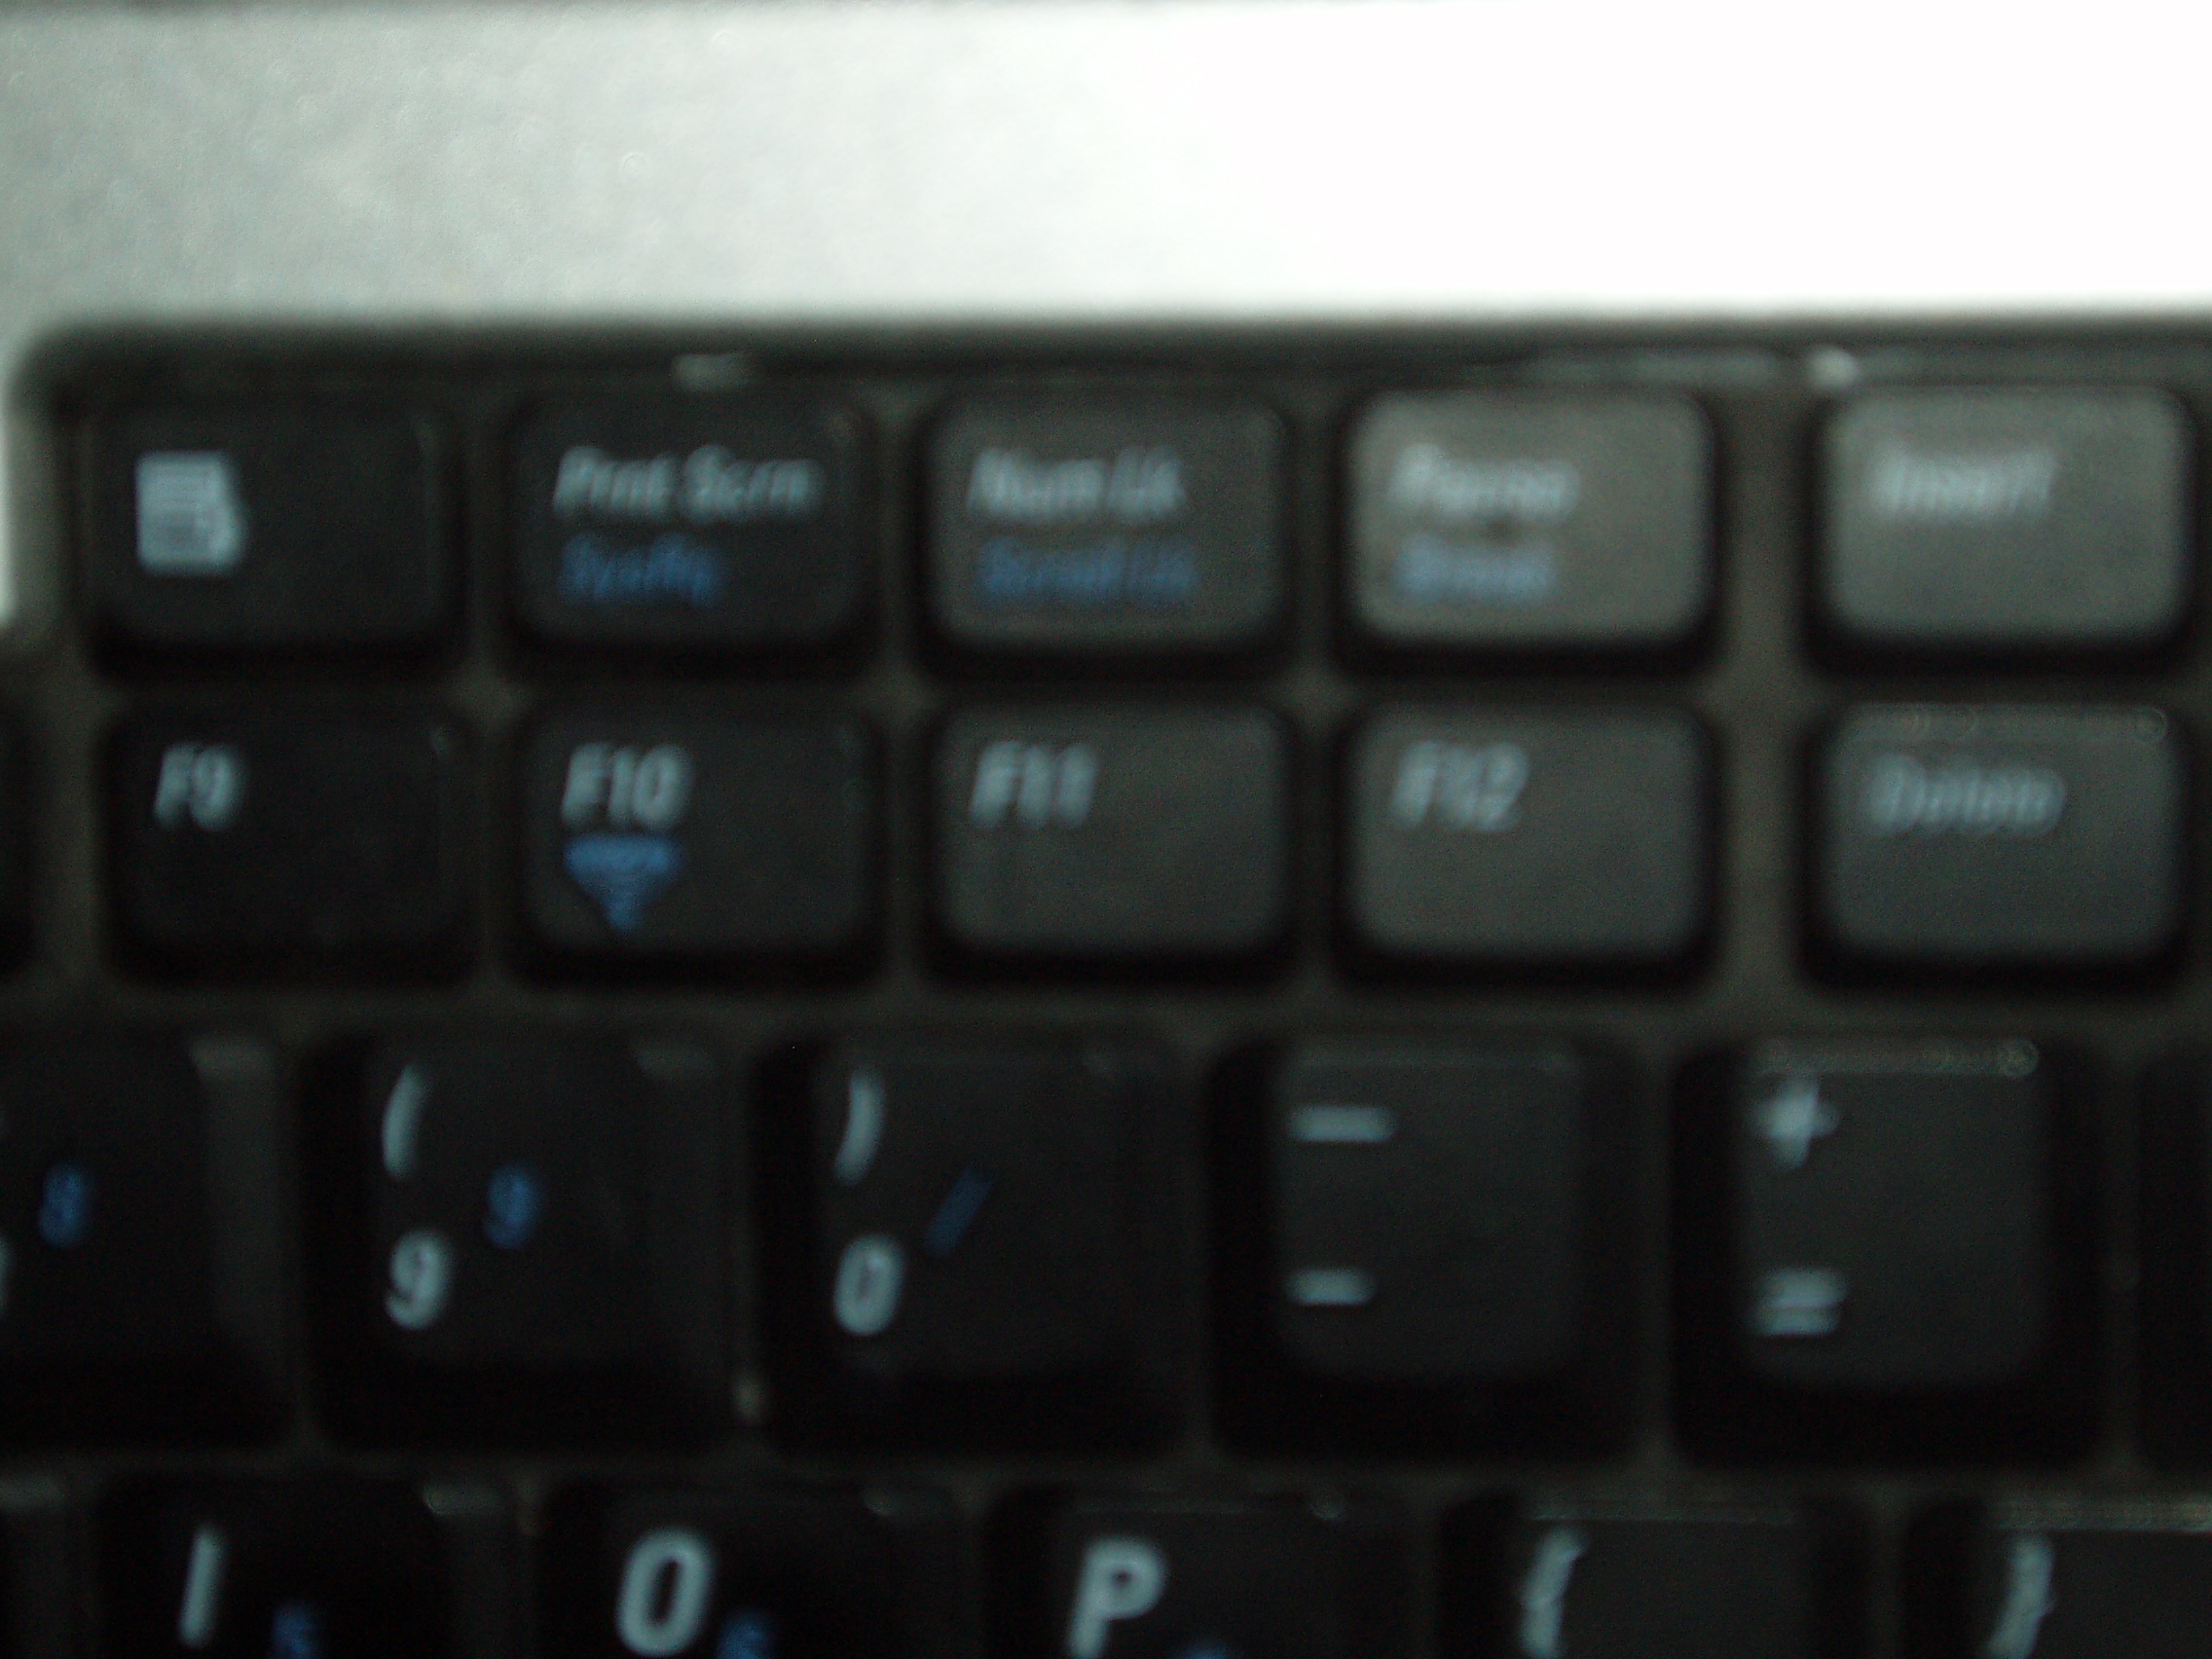
With the message or view you would like to screen print visible on your computer monitory, click the Print Screen key on your computer keyboard. This key may have different text on it depending on what type of computer you have – I use a Dell Inspiron E1505 so my key is labeled “Prnt Scrn Key” in white with a second line of text on the same key labeled “SysRq” in blue.
If you just want to capture a particular window or message, you can also hold down the “Alt” key when you click the Prnt Scrn key and only the active window will be captured in the screen print (see thumbnails below for comparison).
![]() (full screen print)
(full screen print)
![]() (screen print of just the item)
(screen print of just the item)
Now create an email – in Outlook you can click on the down arrow to the right of the New button from any folder and select Mail Message from the pop up menu (see screen print below).
![]()
Type the name of the person that you want to send the screen print to in the To field and a good subject is usually a description of the error message, item or view you are screen printing followed by the words “Screen Print”.
Next place your cursor in the body of the email message just as though you were going to type an email message and the select “Paste” from the Edit menu (or click the Ctrl and V keys on your keyboard at the same time). The screen print should now appear in the body of your email message window (see screen print below).
![]()
If you are having trouble inserting the screen print, your email may be set up to be delivered in “plain text” format instead of “rich text” or “HTML” – you can change the email format by selecting “HTML” from the drop down menu of the format field on your email tool bar (see screen print below).
![]()
Now type any additional explanation of your issues above or below the screen print in your message body and then click the send button.
Very cool, thanks
Love your blog!. I really enjoy reading all of the posts. Keep up the good work! 🙂
Wow – what a nice compliment! Thank you so much, Hannah, and have a great day! Misty